Showing posts with label Dundee Craft Makers Award. Show all posts

Sunday, 22 July 2012

Tea Stains

Here are the pictures of the results of the rose tea staining on the the stud clusters. As hoped there is a nice black rust ring round the clusters and also a nice layer of green on the studs themselves; from the coating of the metal I presume. 


Showing the black stains.


Close up of the clusters and the green coating that has appeared.


I am happy that more colours are being introduced into the work and would like to see more staining coming from the green coating - maybe some rubbings etc.

At the moment I am currently working on a plan for a workshop day with Sara, as we are just at the end of the experimenting stage. Re-worked has had to take a bit of a back seat, especially in the last few months as Sara is studying hard for her final Masters assessments, however we hope to get back on track quickly once it's ended. The works there - it's just not getting uploaded!! I hope to post the workshop plan this week with lots of basic workshop techniques!


Monday, 20 February 2012

Creating Clusters


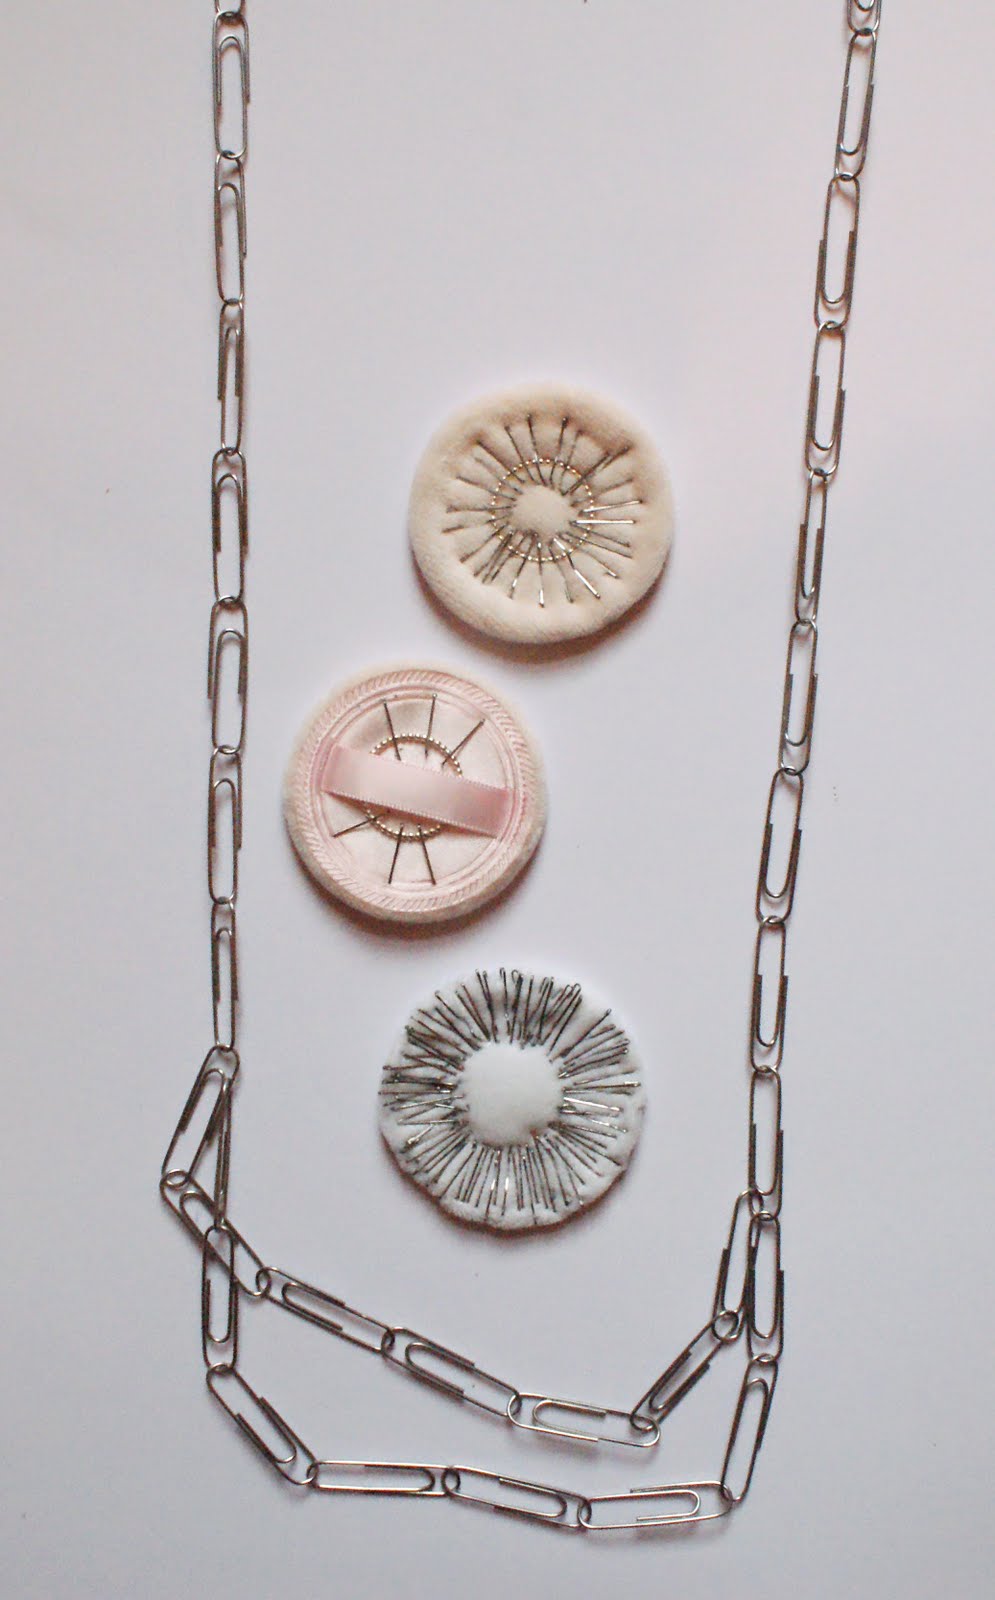
I have recently been using some plastic/rubbery fabric that Sara passed on to me to use as a base for creating clusters - perhaps Sara can shed some light on what the fabric is - it feels like a shower curtain! The material has proved fantastic for this purpose as it crinkles and forms shapes that a soft fabric would not. I have always had an interest with the idea of "clusters" for Re-worked so I thought I'd try creating a few different styles using the same materials. I've combined the felt circles of different sizes with the silver coloured studs. I will take these further by now using some destructive techniques - would the material melt interestingly if branded? - and will post the results at a later date. I like the idea of combining these clusters with the cape style garment I made in the previous post - a definite contender for a final piece I think.


Saturday, 11 June 2011

Fabric Samples

In response to an earlier post in which Nicola and I discussed the possibility of producing rusty prints from rubbings, I have experimented with fabric swatches. Having begun with different weighted papers I found that too smooth or dry a surface encourages the rust to simply flake away. In order to make successful prints from the rust deposits a damp surface is needed. Samples previous to the paper below were dampened before rubbing but without prolonged contact with the damp surface, produced a weak print. The paper below was left overnight in damp conditions pressed against a pre-rusted paper clip chain.


 The results, though strong in colour, lack form.
I found that fabric treated with diluted vinegar and kept in the same conditions as the above, produced a far clearer print, with the fabric moulding to shape as it dried.


I think that making literal prints such as this could be an interesting way of making printed jewellery e.g. an emulative necklace or bracelet.

Powder Puffs - Before Rusting


These powder puffs have been stapled in the hope of altering texture and shape. Again, I have been concerned with repetition - edging the puffs with staples in a regimented fashion and pinning the pearl wire rings to reflect shape. I expect that the nature of the materials will see the puffs rather saturated with rust if I am not too careful in controlling the process so I plan to monitor these closely. Despite this concern, I am eager to see the embossing effects that the staples will have against these spongey textures. I quite like these as objects in themselves though I am unsure as to how well these will work within our final collection...

Thursday, 26 May 2011

Washers / Branding


"Print" left after using washer with a branding technique.


"Print" crumbling off after material was crumpled.


A washer before branding (top left), a washer after branding (top right) & branding "print".

After a slight break from the project as I was settling into my new home, (big thank you to Sara for her work on the project the last couple of weeks), I was excited to get back to experimenting with the last batch of items I received from Sara.

I mentioned before that I was eager to use the brass washers as tools for branding the wool - and I am glad I pressed on with this idea as the results are fantastic. Rather than a circular burn, as I had predicted, I was confronted with a silver coloured "print". There was obviously a coating on the washer that reacted with the heat of my torch and stuck to the surface of the wool - especially obvious as when the washer was first applied to the wool it stuck on to it - something I think would look great on a large scale piece: showing the washer still attached to the wool combined with the print. I like the idea of the washers falling off as the piece is worn, revealing the graphic print underneath. I am really excited about these results - much better than I had anticipated. I will have to try the technique out on a few other materials to see if there is a similar result. Unfortunately, the smell of singed wool was also a surprise to me, albeit an unpleasant one!! I may have to continue these experiments outside from now on!


I also did some smaller experiments just using the washers as protective elements, singeing the wool around it. This didn't prove as successful though I do like how the middle of the circle is darker than the surrounding singed material. I have discovered that, with textiles, it is hard to predict how the piece will look on a small scale. I suspect that the above singeing and even the branding "print" will look far better on larger areas of fabric, however the smell of the wool has put me off testing this out for the moment! Repetitive patterns really appeal to me for Re-worked as a whole. 

Altogether I am still really pleased with branding & especially the "print" so will continue to push this idea further & try to apply it to larger areas.